Thinking of raising chicks to start your own backyard flock of chickens? Need a reliable brooder that won’t take up too much space and can double as a chicken tractor plus a plant protector when they are grown? We’ve got the perfect, easy plans to build your own chick brooder!
Holds 12 chicks until 4 weeks of age • Scroll down for cut list & assembly directions
An Idea Was Born
I woke up one Saturday morning – with the leaves nibbled off my bell pepper seedlings by the chickens – and asked for my very talented husband to build me something. Ideally the lidded, chicken wire box would protect my seedlings from the ravenous hens and double as a chick brooder since we had an incubator full of eggs hatching soon. It would have an open bottom and a hinged lid that allowed for easy access inside. I scribbled a drawing of the breezy, breathable wood frame box I was envisioning on a piece of paper. Twenty four hours later my husband had built two!
It Needs a Name
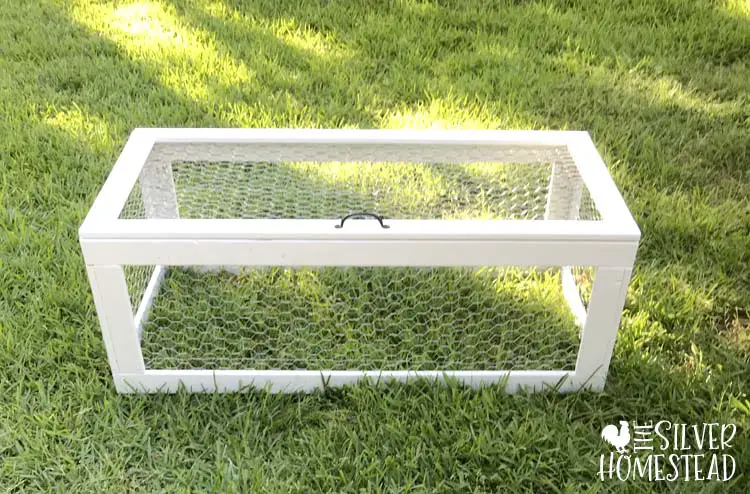
We called the easy-to-move, breathable box we had designed an air frame for lack of a better term. It functions like a windowless green house for plants and a secure coop for chicks. I’ve been using them for several months and continue to marvel at how handy they are. And at only 4 feet long, they fit in the back of most vehicles which make them an easy item to craft and sell locally.
Beginning the Build
We bought 1 inch x 3 inch x 8 foot long furring strips from Home Depot in a bundle of 12. Each air frame required 6 furring strips that were each 8 feet long. We used a drill, a Kreg pocket hole jig and 1 inch pocket hole screws to assemble ours. (Affiliate link.) The finished boxes are approximately 4 feet long, 2 feet wide and 16.5 inches tall including the lid. Inside the frame there is a full 16 inches of headroom – large enough for adult heritage breed hens to stand fully upright.
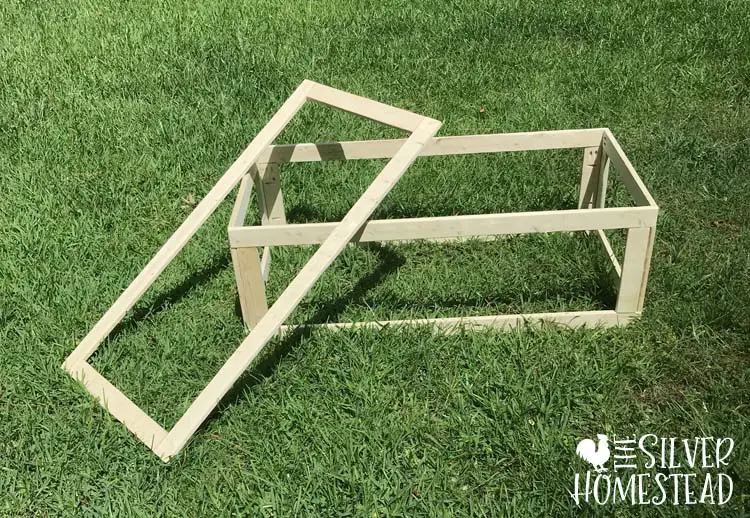
Here’s a Handy Cut List to Make Life Easier

The hubby loves pre-made cut lists and insisted my blog post include one. You can thank him! The bottom is made by fashioning two rectangles – the upper and lower box pieces – which are connected by the riser pieces that form an L-shape at each corner. The lid is its own flat rectangle that will be attached by hinges at the back as the very last step. Furring strips are nicely lightweight but not known for being very smooth. I sanded ours before they were cut and assembled. Once the box was built and painted, we then attached the wire inside the bottom portion so we could work from the two open sides. We put wire on the underside of the lid and then attached a handle. The lid was attached to the box with hinges in the back on the opposite side of the handle and the brooder was complete!
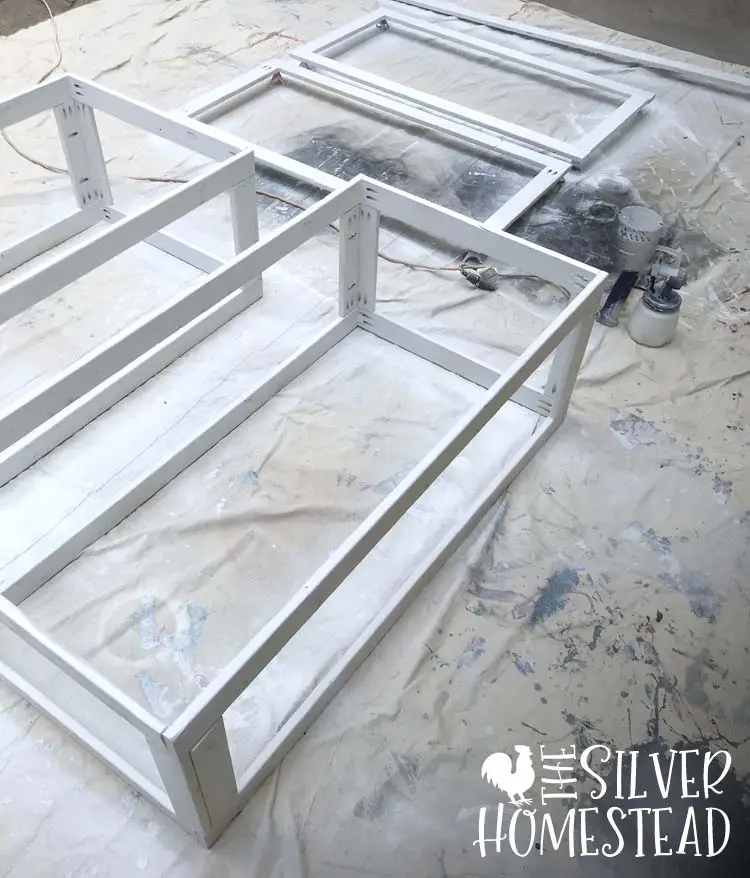
Use an Exterior Paint for Durability
I use my trusty craft paint sprayer at least one weekend a month. It made painting these a breeze! We used painter’s tripods to keep the flatter lid frame from sticking to the canvas drop cloth. Exterior paint makes the frame wipeable and hose-off-able later. (A magic eraser will remove any little chicken poops.) Each brooder box only requires about 4 cups of paint total to do two coats on both the box and the lid, inside and out. If the paint store will mix a sample quart of exterior paint, you should be good to go! (Affiliate links.)
Add Your Choice of Wire
We used 12 linear feet of 18 inch wide standard chicken wire/poultry netting for each box and a 22 inch wide by four foot long piece for the lid (16 linear feet total). We attached the wire on the inside of the frame using ½ inch staples and a pneumatic nail gun. Hammer-in staples or a heavy duty staple gun should also work, so long as the staples don’t go through the ¾ inch thick wood.
Wire Wisely for Little Chicks!
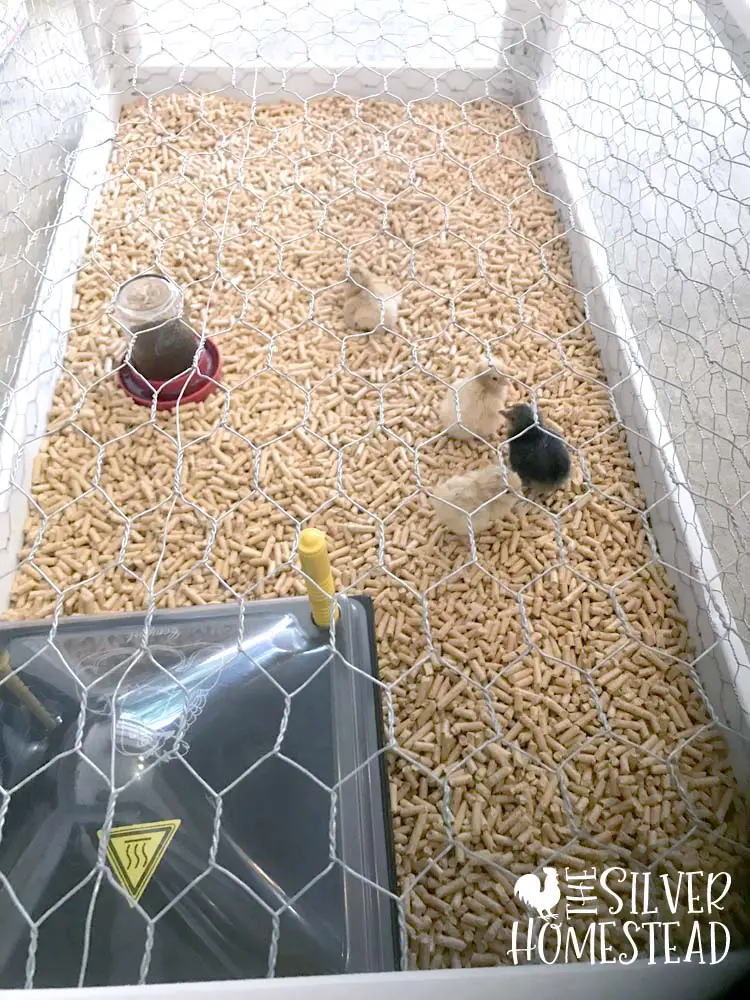
We later learned day-old chicks can slip through regular chicken wire. The noise of our automatic garage door opener sent them squeezing through the honeycomb holes and scattering in all directions in a blind panic. This was only an issue for the first 48 hours after hatching, as their fast growth quickly prevented them escaping after day 2. Shipped chicks that are already 2 days old don’t easily slip through, especially with food in their crop. The upside to using standard chicken wire is that the outlet plug for an electric hen heating plate can fit right through the wire without you having to make any special cuts. You’ll have to decide which wire works best for you based on the type of chicks you’re going to brood.
Select Cute Hardware
You’ll need a pair of hinges (somewhere around 1-1/2” by 1-3/4” in size) and a 4 to 5 inch long metal utility handle. Don’t be afraid to use bright paint, mismatched wire mesh pieces, cute knobs or upcycled drawer pulls to make your brooder look stunning!
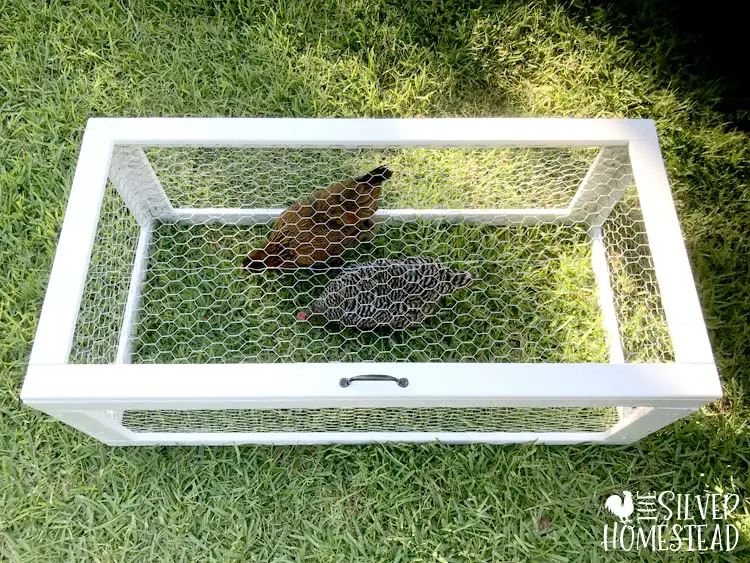
The Finished Project
I’m so pleased with how these handy boxes turned out! I promptly filled them with chickens and discovered they made a fantastic little chicken tractor for two adult hens.
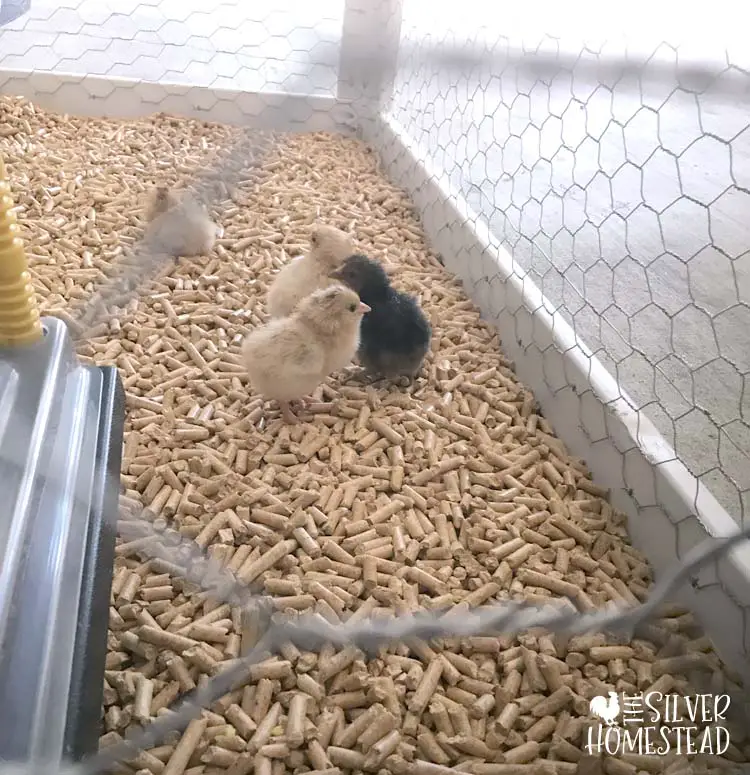
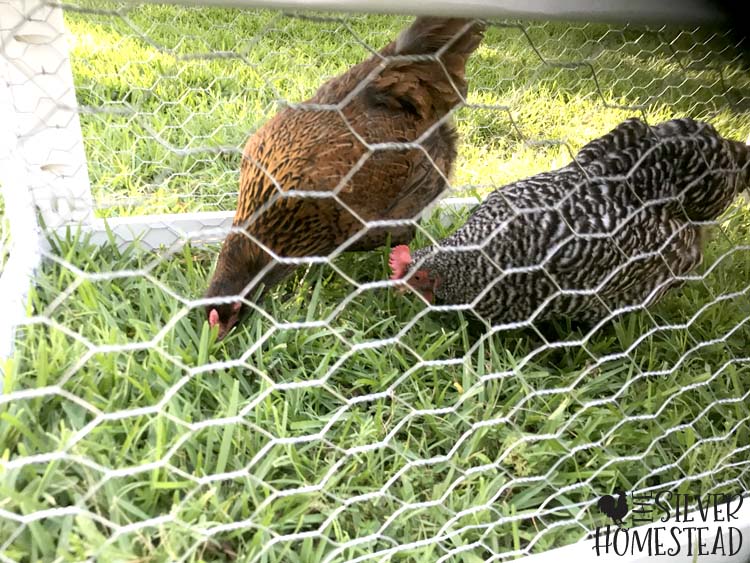
I can also clap them over the top of young or potted plants to stop the chickens from eating all the leaves.

To use as a brooder, I simply set the air frame directly on top of our concrete garage floor and filled it with pine pellet bedding. The frame keeps the pellets in place and the chicks safe. To clean I lift off the frame and sweep up the litter with a broom and dustpan. So easy!
Chick Brooder Tractor
Since these are bottomless, you can give your chicks outside tractor time as they grow. The box is not predator proof but it is hawk resistant and would let your babies have a lovely time on some fresh grass.
Give It a Try!
This beginner’s project is a great place to start learning how to build your own chicken and garden contraptions! If the tools intimidate you, remember that you can probably use flat or L-brackets instead of the pocket hole screws and a staple gun instead of a pneumatic nail gun. Chicks and plants tend to not be hard on the wood joints so don’t fret if the finished project is less than perfect. This 2 in 1 chick brooder and green house is a great way to begin gaining useful building experience while fulfilling a homestead need!
P.S. If you end up selling these locally, leave a way for buyers to contact you in the comments below by posting an email or dot com and the state and area you service. As more and more people get chickens, there is a real need for these brooders that double as chicken tractors, quarantine pens and plant protectors!
You Might Also Enjoy Reading:


My not too handy mate and I finally put our pieces together for the 2 in 1 brooder with some trial and error. The problem we encountered was with not allowing room for the overlap in placing some of the pocket holes on the risers. We had to attach them one by one instead of first joining them in an L shape because the holes were partially covered when we tried that way. Our work area was less than ideal and not all the corners came out perfect but heck it is not fine furniture. I was thrilled with the outcome nonetheless and know the next box will be much easier to construct. Thank you for the idea and measurements.