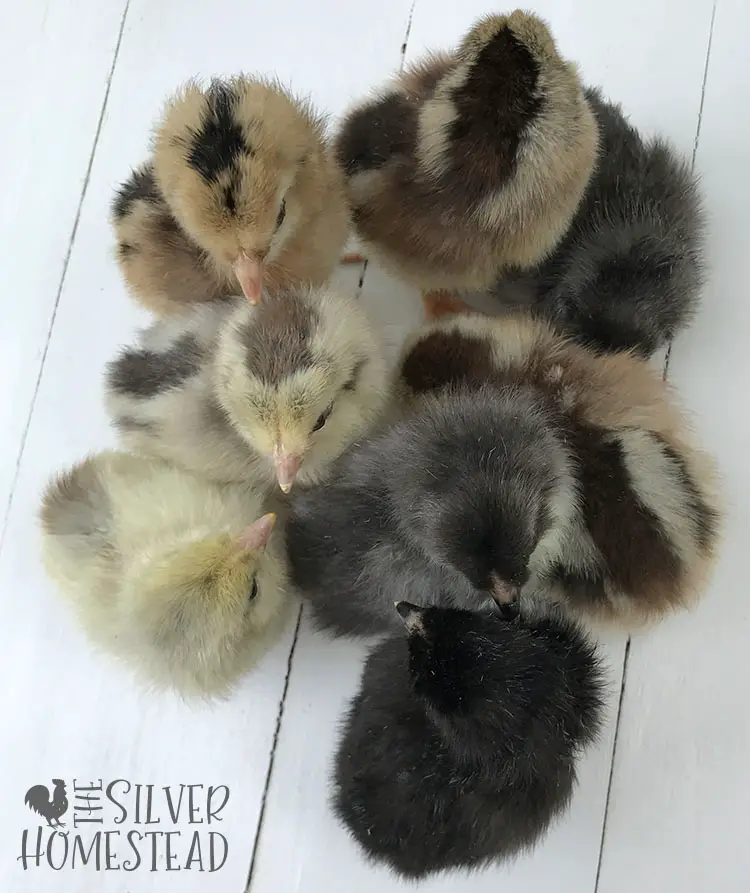
You’ve got an incredible mix of eggs in the incubator but how do you know what each breed or hybrid chick is once they hatch? I’ll show you all the tricks I use to keep track of each individual chick and the shell she hatched from! Here is how to leg band newly hatched chicks (and not lose track of anyone):
Why Is This Useful?
If you’re embarking on a specialty breeding project – such as breeding heavy blooms or speckled olive eggers – you need to keep very detailed records. This helps you discover which cross produced the best colors and which rooster is carrying the best genes. Knowing how to leg band chicks is only one part of the overall tracking process.

Do Leg Bands Actually Stay on Baby Chicks?
Yes they do! I have experimented with both orthodontic bands and mini zip ties and both work for newly hatched chicks! But before you can leg band a chick with certainty, you’ve got to track which egg she hatches from. Here is what I do:
How to Get An Organized Start
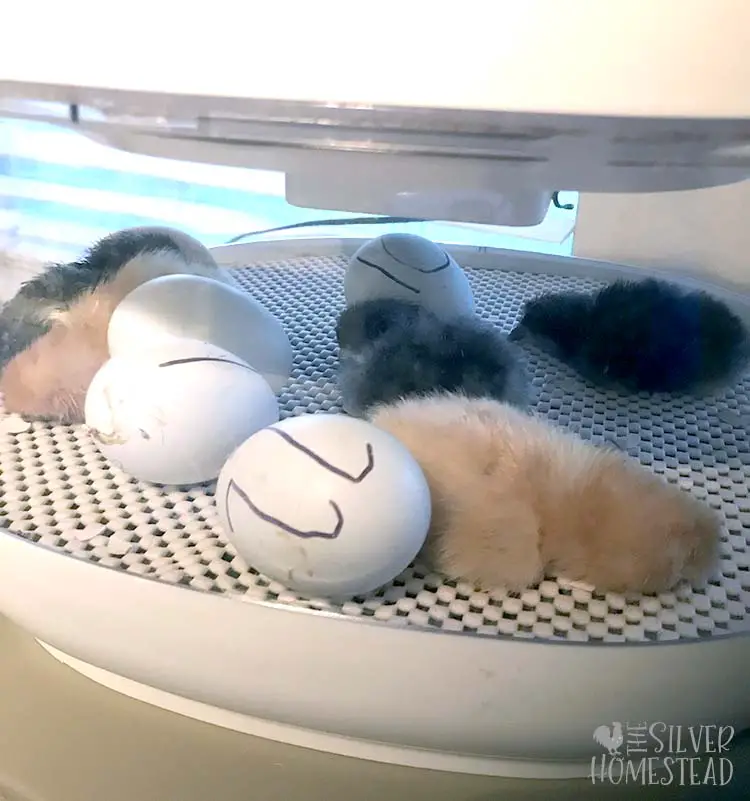
When I fill the incubator with a mix of different colored eggs, I like to number each egg. I find this an easy way to keep track of the egg both by its number and its color description. I use this detailed incubator tracking sheet to make specific notes about each chick.
Using Hatch Bags to Track Who Hatches from What Egg
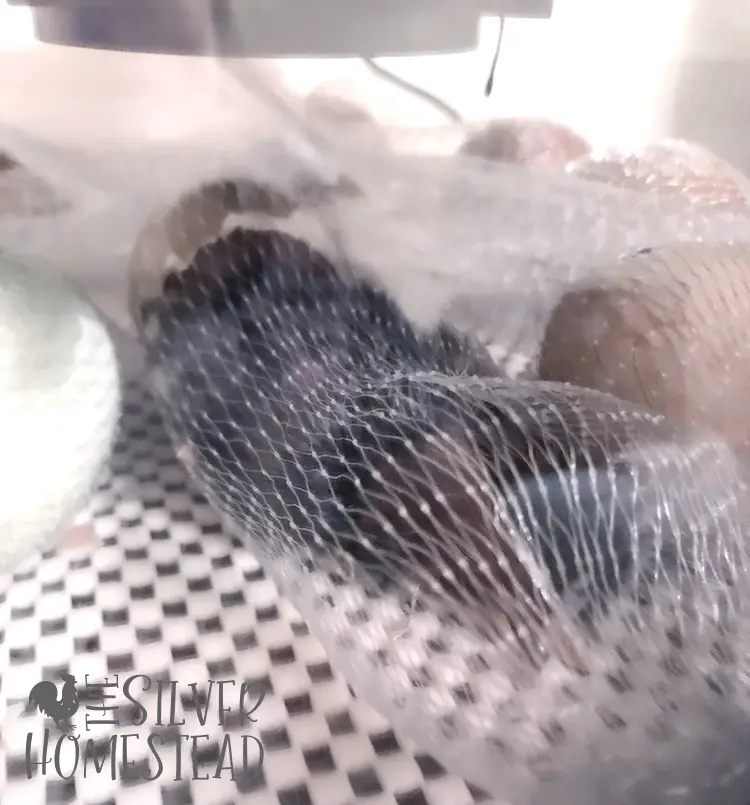
Plastic mesh produce bags are incredibly handy! (Affiliate link.) They are highly breathable, allowing the chick to easily hatch, but they keep her with her shell until you’re ready to leg band her. They do not melt in the incubator and they are durable, allowing you to wash and re-use them dozens of times. One pack is all you ever need to buy because they last so long. I have used them successfully for a couple years now and I consider them essential to my speckled olive egger breeding program. When it is time for the eggs to stop turning and go into lockdown, I place the eggs in the hatch bags, loosely knot them closed and leave them until hatch day. I have never had a chick strangle herself in a hatch bag but I do remove the chick from the bag, mark and leg band her as soon as I notice she has hatched. Any remaining eggs that may be in the same hatch bag stay and I loosely knot then end closed again.
How to Leg Band Chicks
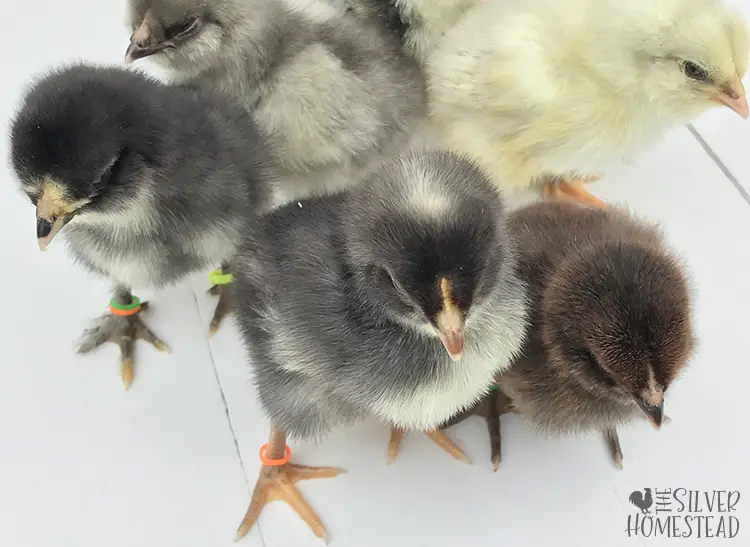
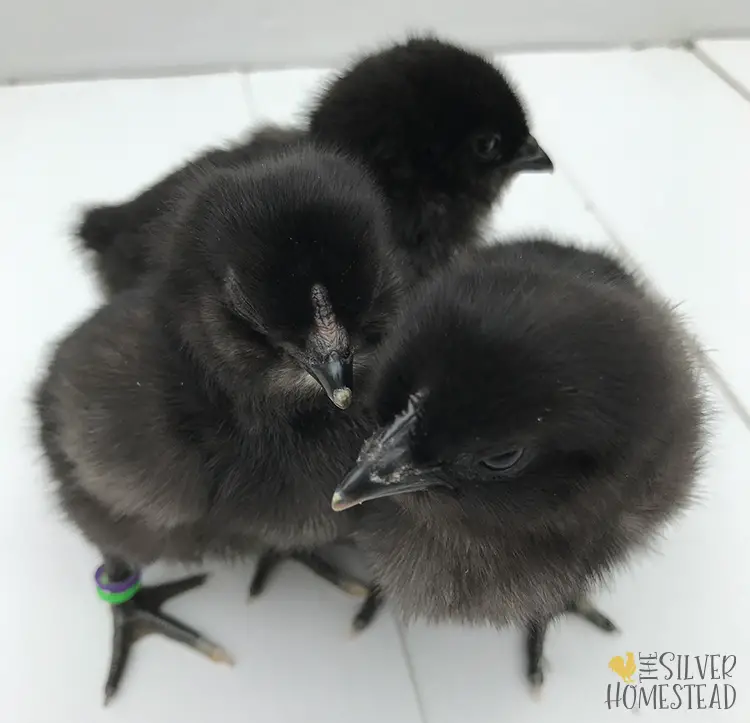
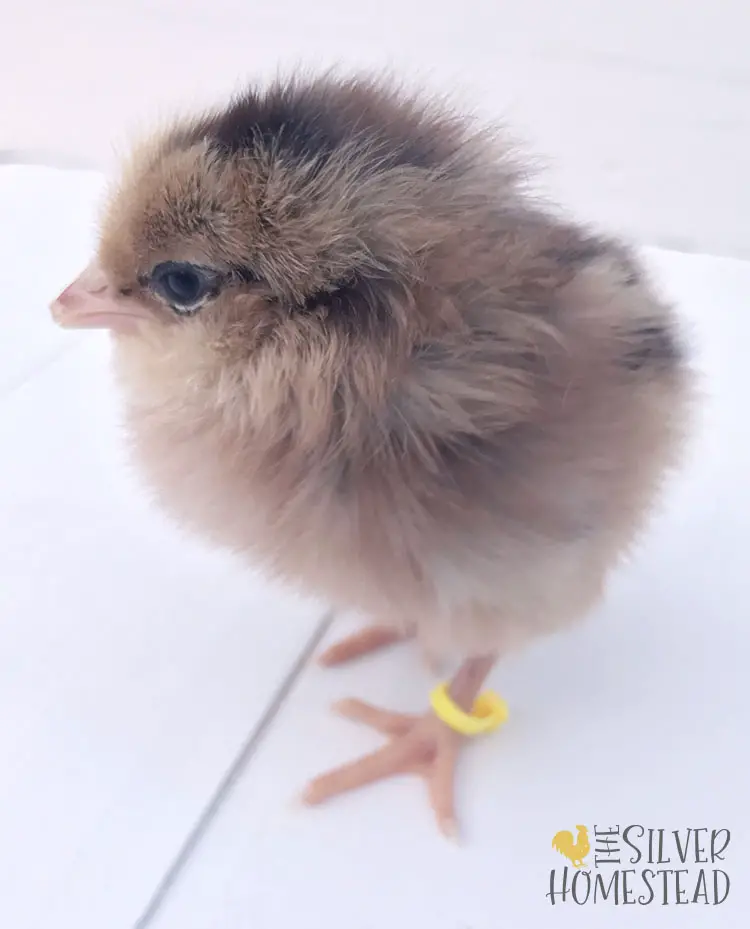
I use Medium force, ¼ inch Orthodontic Bands to leg band my newly hatched chicks. (Affiliate link.) Only the medium force ¼ inch size works for newly hatched standard breed chicks. I prefer to order the neon color pack which has green, purple, orange and pink in the same bag. They are very easy to stretch by hand and slip over a chick’s foot. I have banded chicks less than an hour old and not had the bands fall off. They are safe, non-toxic and work very well! The bands do not need to be removed until around 3 weeks old. At that point I use multi colored zip ties to leg band the chicks, which I cut off and re-fit with new bands every 3 weeks until adulthood. (Affiliate links.) Hatch mates may curiously peck at each other’s bands for the first day and then everyone will leave them alone once they understand it is not food. Broken bands are not eaten by the chicks; they may investigate it but do not actually swallow them.
My Backup Method of Marking Chicks
I’ve only ever had one chick break her leg band and luckily I had used a backup method to track her. I use Crayola brand washable markers to mark the light colored belly fluff of newly hatched chicks as my back up tracking method. (Affiliate link.) If a chick hatches solid black, I will mark any yellow colored down I can find, such as under the chin. The washable marker is non-toxic, harmless, dries quickly and traces of it will be visible on the chick’s underside for 4-6 weeks. Do NOT use pastel colors or aqua blue and lime green together, which both fade to the same shade of faint bluey-green. The classic colors work the best and leave a clear marking. The combination of washable marker and the orthodontic bands have resulted in me never losing track of a chick.
Using Mini Zip Ties on Day-Old Chicks
I have had success using 4 inch long colored mini zip ties on chicks that are 24-48 hours old. It requires more attention because the zip tie must be carefully cut off after the first week of life and replaced so it remains comfortably loose. Wire cutting pliers with a fine tip are necessary as common scissors will not cut through the zip tie. The chick will object to being held and kick wildly, which increases the chance of their leg or your finger being cut. For this reason I find the orthodontic bands a much safer option for young chicks and I save the colored zip ties for when they are 3 weeks old. (Affiliate links.)
Marking Chicks that Will Be For Sale
Buyers will not mind if the chicks they are purchasing are marked or leg banded. Many request marked chicks from hatcheries. By marking the belly down I have found a single application of marker lasts the longest and is not visible when the chicks are photographed for sale. (If you want the marker to last up to 6 weeks, be sure to mark the skin of the chick under one wing pit. It seems to stay there for quite a long time!)
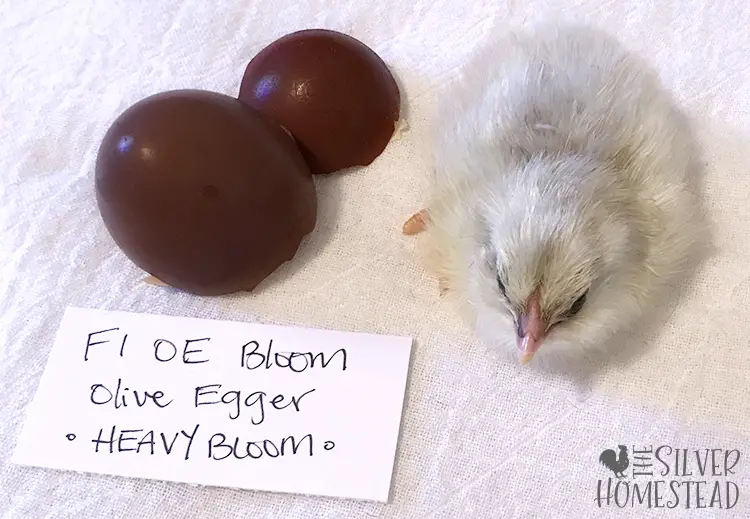
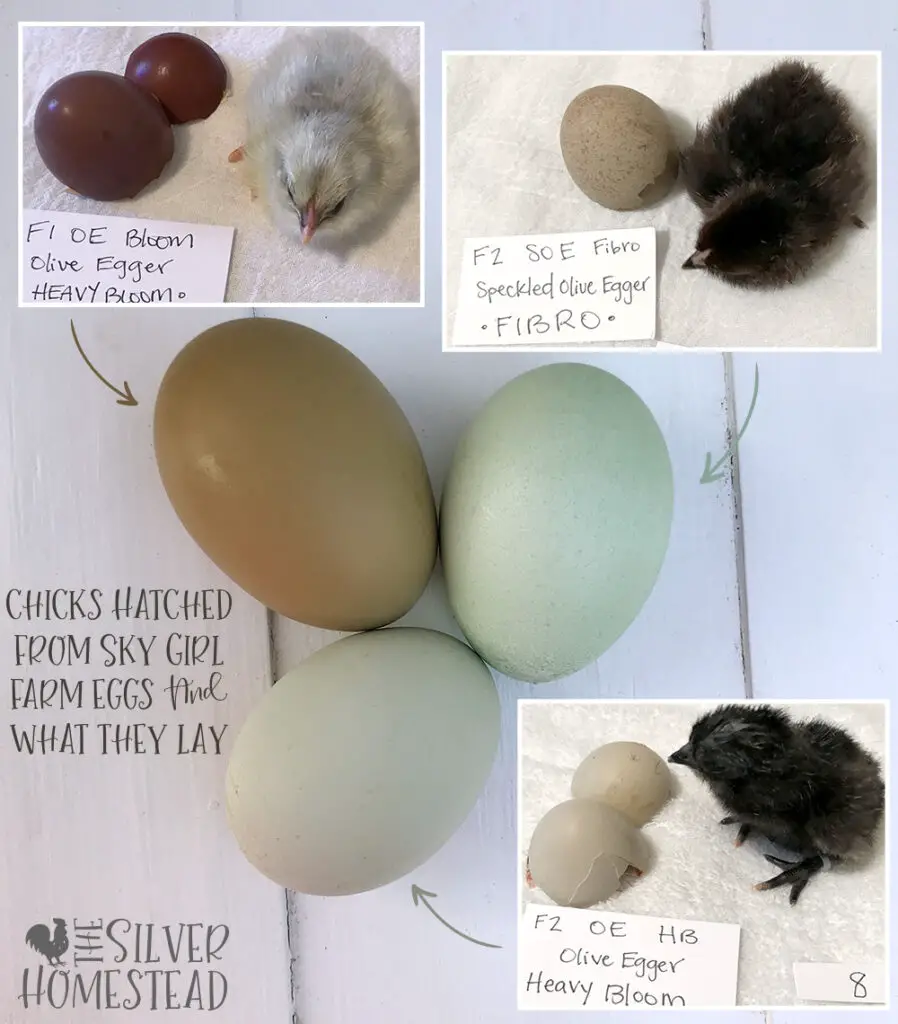
Photographing Each Chick & Her Shell
When I purchased some incredible hatching eggs from Sky Girl Farm, I invested the time to photograph each chick that hatched with the shell it hatched from and a slip of paper where I copied what had been written on the eggshell by the breeder. Because I took the time to do this, I’ve got fantastic records that I have referenced as I’ve mixed my 3 Sky Girl hens into the olive egger breeding flock.
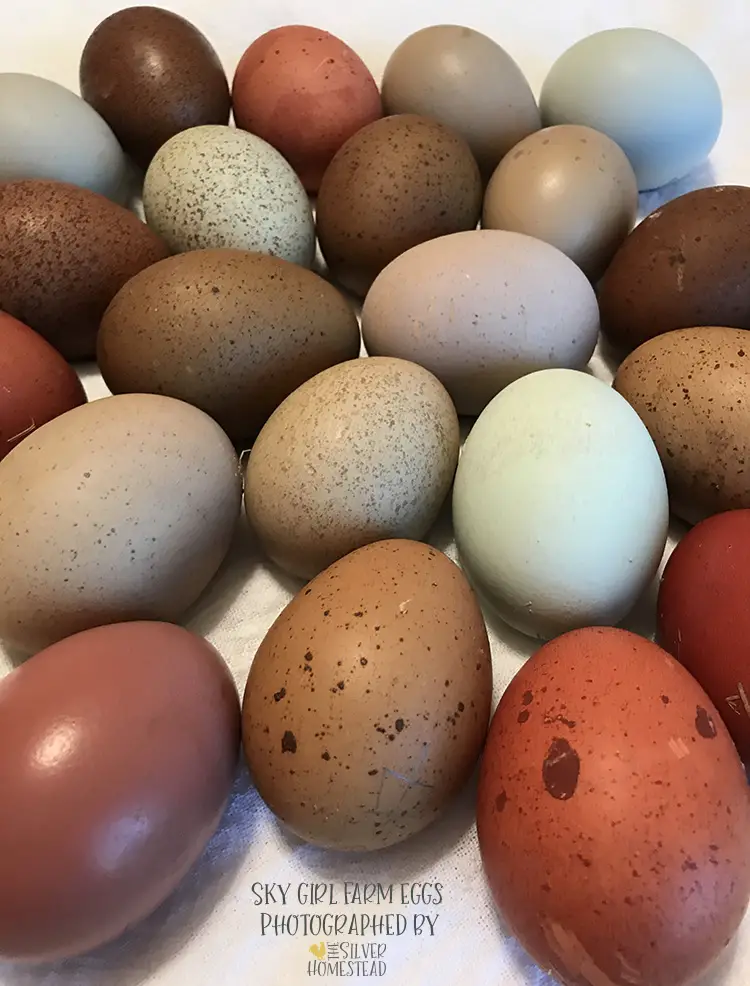
Photograph Your Hatching Eggs, Too!
I am happy I snapped a couple pictures of the hatching eggs together before they went in the incubator. This can be nerve wracking because you don’t want to crack any but you’ll be grateful for the images later. I laid a soft flour sack towel over the bed so the eggs would be safely cushioned on a white background and photographed them with as much natural light as I could get from a nearby window.
For Those Interested!
In Closing:
I hope this article has been helpful beyond just teaching you how to leg band chicks. Good hatch records keep you organized and help you get top dollar for hens or roosters you decide to sell later. If you have any additional tips or tricks, feel free to leave them in the comments below!
You Might Also Enjoy Reading:


Your information is wonderful! When you talked about having multiple in each hatch bag, when do you pull them out to band and mark? Once they’re dry or still wet but fully out of the egg?
Hey Samantha!
My preference is to get the chicks out of the hatch bag reasonably quickly for their comfort. I leg band them immediately, even if still wet, and let them dry off outside of the hatch bag. I mark their color on my tracking sheet and once dry, I use washable Crayola marker on their chest. (Marker does not work on wet chicks.) Chicks that hatch in the hatch bags overnight end up drying off inside them while they rest so they aren’t in any danger, I just imagine it is more comfortable to be out of the bag. I’m outside Houston, Texas where it is ALWAYS humid so if I open the incubator I’m at low risk of shrink wrapping other chicks. If you’re in a climate where shrink wrapping is a concern, leave the incubator closed for as long as you can.
There is an Etsy shop called CourdtCreations that offers 3D printed accessories for the Nurture Right 360 incubator, including a divider that can be used in place of the hatch bags. I hope this helps!