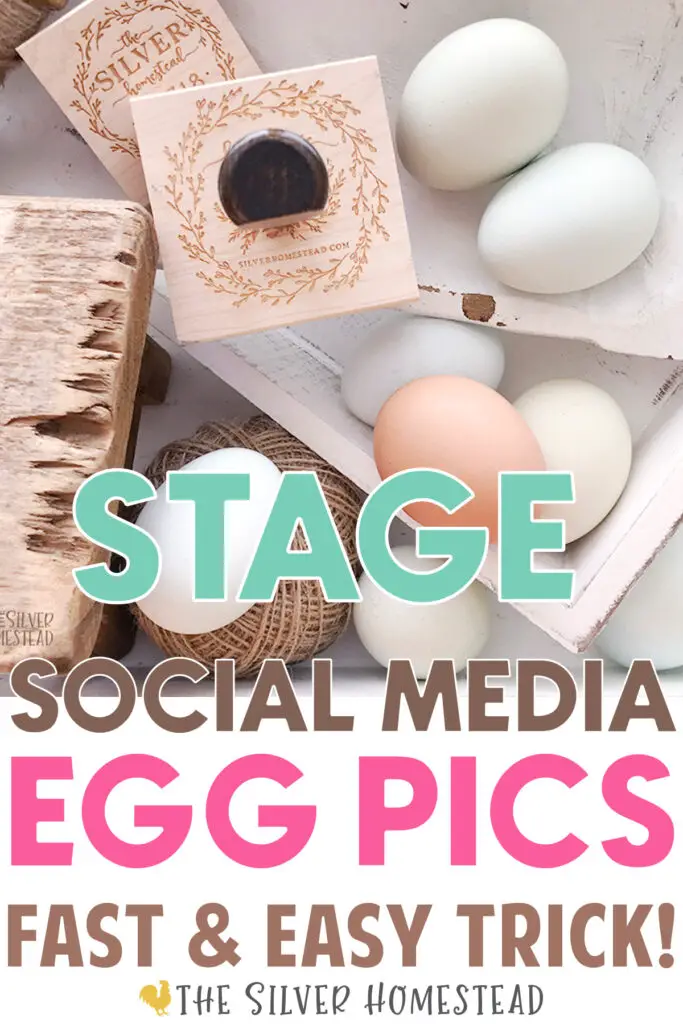
No matter what your farm or farmhouse business is selling, you need a constant stream of fresh social media pictures to share. I’ll show you a technique for creating eye-grabbing scenes that can be swiftly arranged to produce unique, stunning images. Quickly generate the interest and interaction needed to drive sales of your homestead’s offerings. Good pictures simply get more clicks so here is how to stage social media pictures fast:

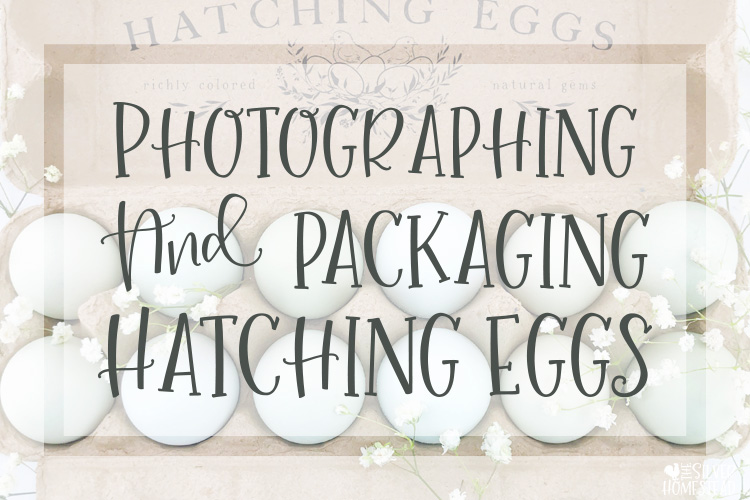
How to Stage Social Media Pictures Fast
This technique is one I use all the time because my Etsy shop and website require a never-ending trickle of updated stamp and egg pictures. We are a highly visual society and crisp, stunning images are the primary way you’re going to attract clients. Mastering the balance of regularly creating captivating images in short periods of time at low expense has become crucial for online success.
This article has Amazon affiliate links and non-affiliate links directly to many of the items I use. Because sometimes it is just easier to buy what you know will work!
Prepare for Your Photo shoot
All you need is a spot with indirect, bright natural daylight. A tabletop near a sunny window works well! Having flour sack towels, a natural linen cloth, or other table covering, including photographer’s back drop boards, can give you a crisp background and make each photo session look different.
Gather Eye Catching Props
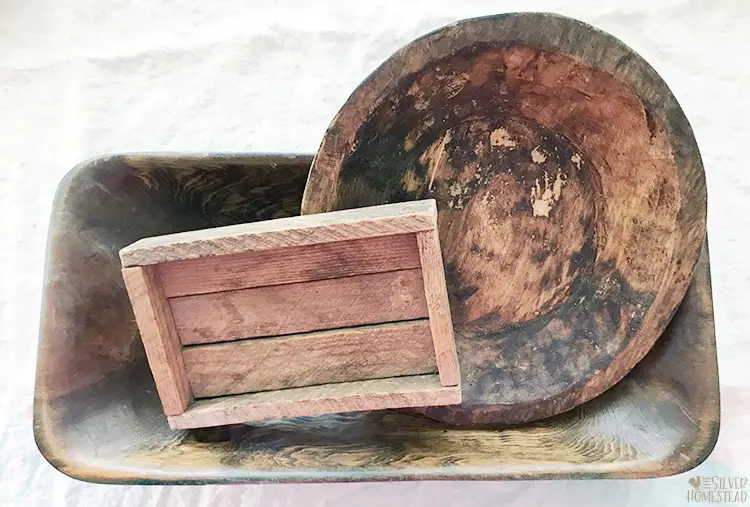
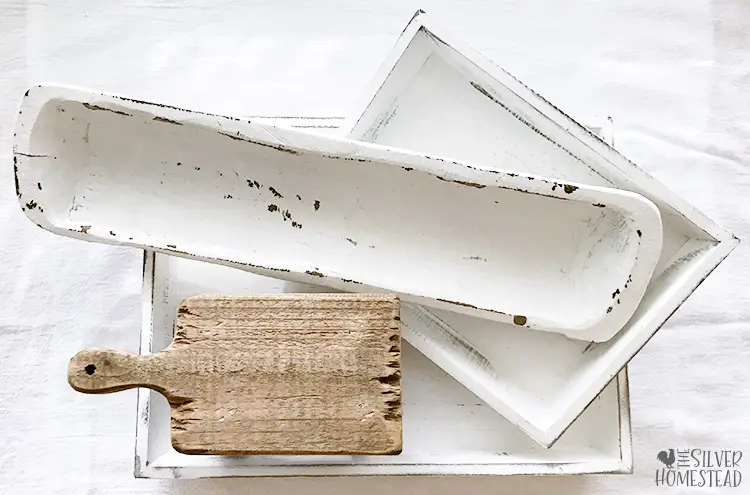
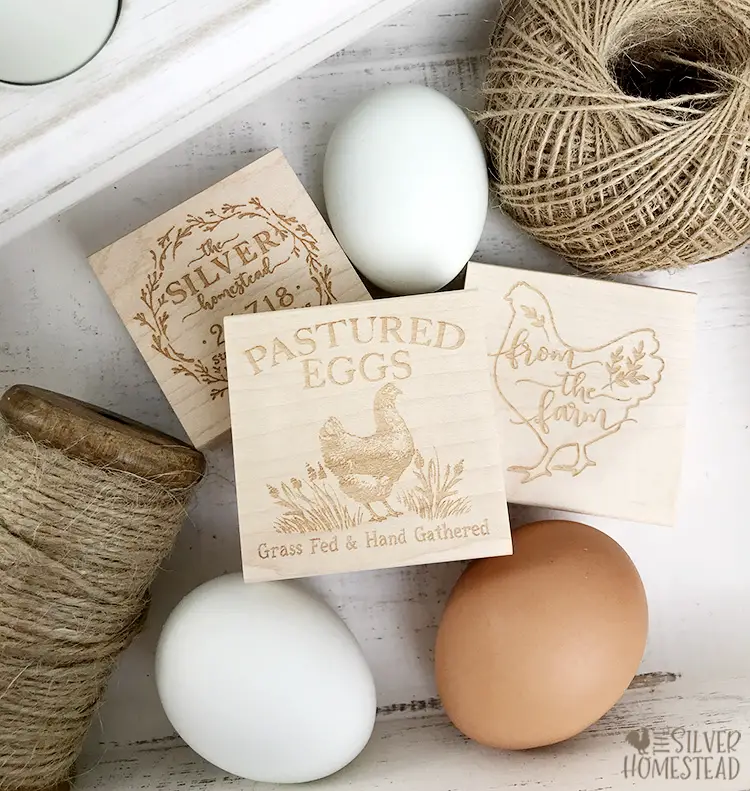
If your interior décor style is farmhousey or cottage core, you already have the props you need. If you’re showcasing eggs, opt for trays and bowls that are 2 inches deep or less so shadows are not cast across the egg shells. Small dishes, little risers and interesting wood blocks or tree branch slices are useful for building your scenes.
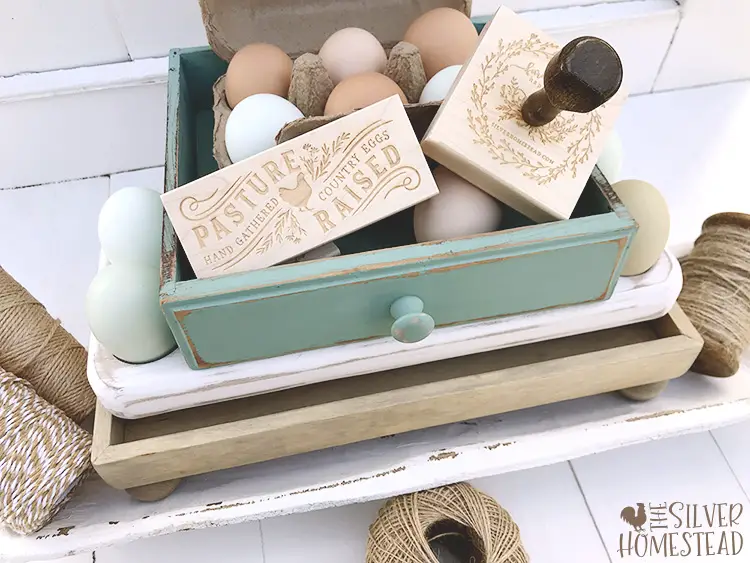
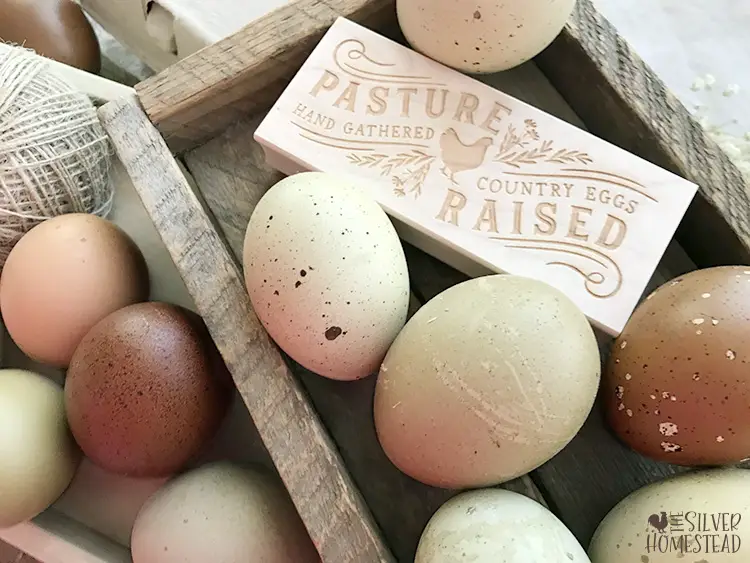
The “Jumbled Stack” Technique
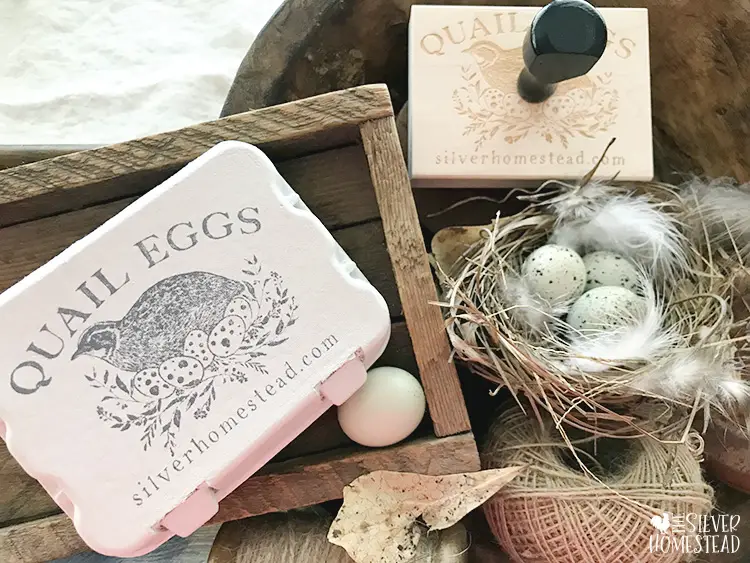
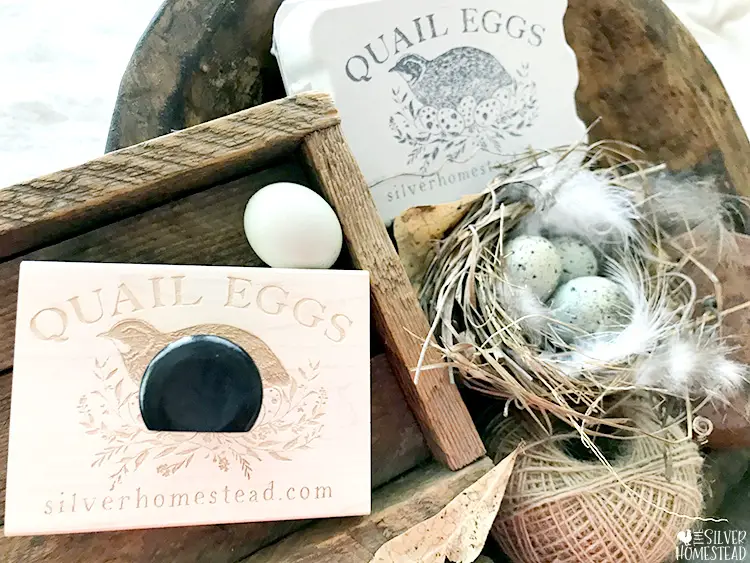
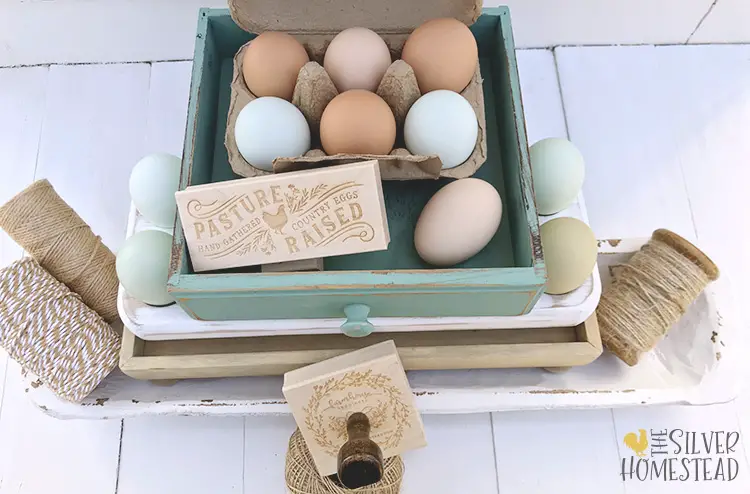
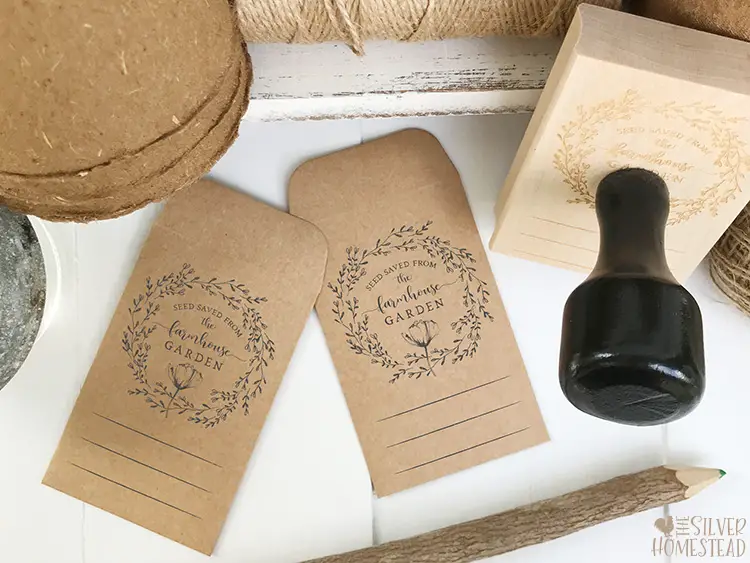
This technique works well for showcasing anything small, such as eggs, handmade soap bars, honey, hand-poured candles, jam-sized canning jars and packets of heirloom garden seeds.
Step 1: Gather Similarly Themed Objects
Select all wood, all white or a mix of painted and natural pieces. Think about the season and what background colors would show off your offerings the best. White displays make colored eggs pop but I prefer natural wood pieces in the autumn months and white pieces in the spring and summer.
Step 2: Arrange By Size
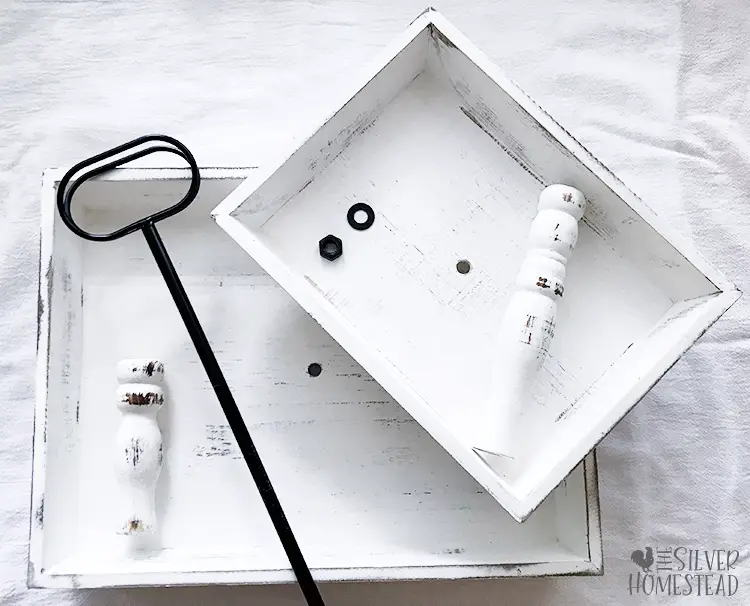
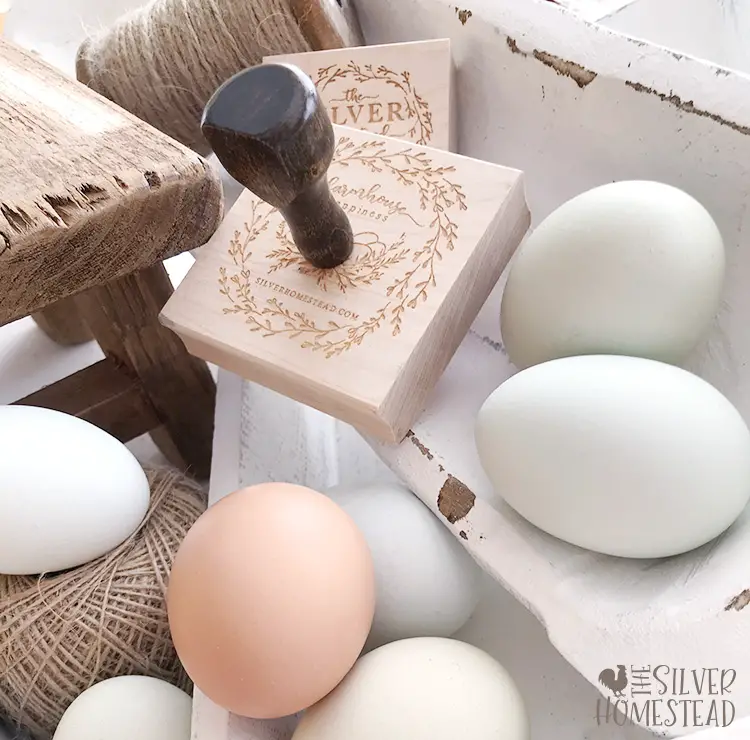
Place the largest item on bottom and begin stacking medium then small items inside of or around it. The pieces should be angled – almost haphazardly heaped – to create visual interest. I use vintage and rusted mason jar lids to elevate or stabilize pieces as needed since they contribute to the farmhousey vibe.
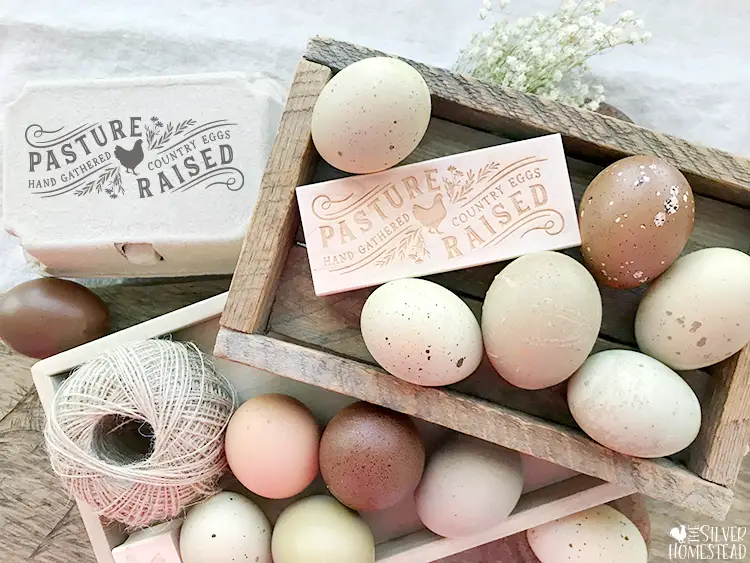
Step 3: Carefully Fill
Place your “basic filler” items first. This is usually things like twine balls, wood slices, smooth pebbles, small dishes, colored eggs, and the items that will help prop up your primary pieces. On top of and in front of these filler items go whatever you are wanting to showcase. Buyers enjoy seeing anything used to hand craft your products so tuck those ink stamps, soap slicers, egg cartons and honey dippers in places where viewers can get a peek of them. Flowers, herbs and greenery always looks nice, too!
Step 4: Photograph from Unusual Angles
Most of us will want to take plenty of front-on shots but when you go to review the photos, it will be the odd angled ones that somehow look better. Play with taking shots from all sides, even angles that seem weird. Interesting shots are what catch the eye so get lots of options before you disassemble your stack!
It’s Really Quick, I Promise!
This technique should take about fifteen minutes from the start of gathering items, placing, filling, photographing and then putting away. By swapping out table coverings and altering the arrangement, you can often use the same pieces in an endless number of set ups to create fresh-looking scenes without the expense of constantly adding new photography props. If you stay within a color theme, like how I tend to opt for white pieces, you can produce an ongoing stream of images that will subtly coordinate and have a distinctive style that buyers quickly recognize as being yours.
Here is Another Example of this Process:

How to Use a Tiered Tray in Your Jumble Stack
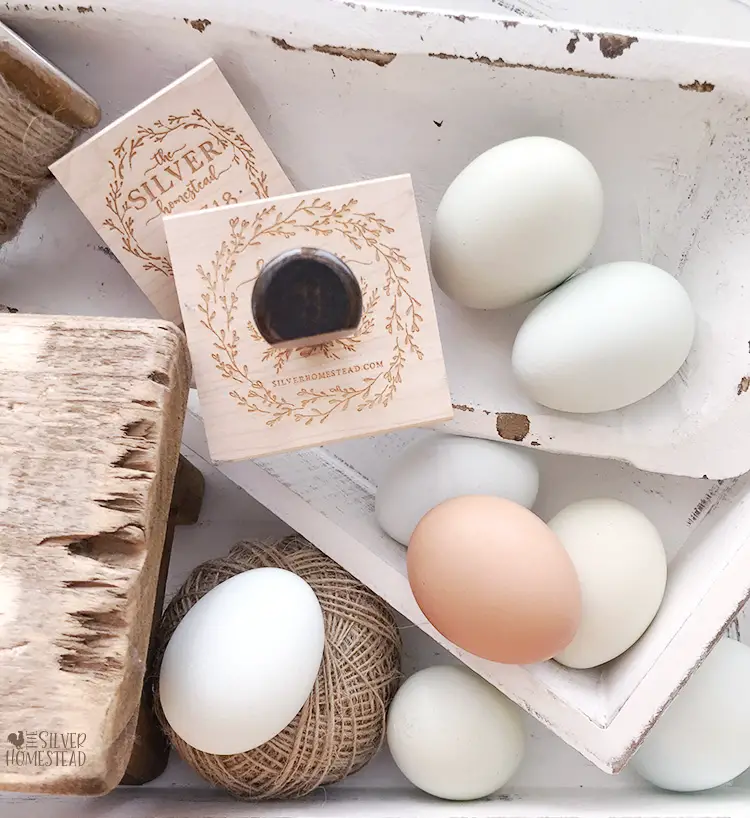

Tips: Local antique stores will have some of the neatest pieces at prices that may be cheaper than Amazon. Save bird’s nests that you find; they make a darling farmhouse prop!
Additional Examples:
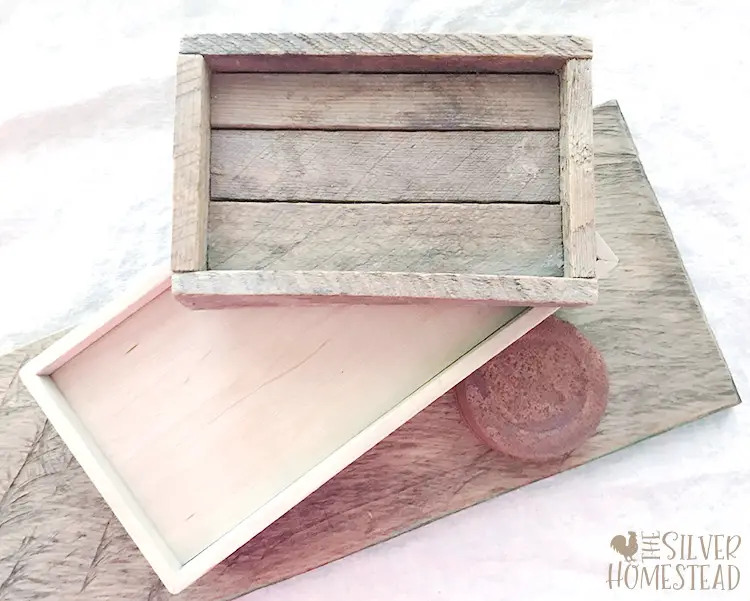
Starting a Photography Prop Stash
While I suggest using décor you already own for this technique, you may find you want to add some specific pieces. I end up using the same six to nine pieces in my arrangements. Make sure you deliberately select at least one large-but-shallow, one medium and one or two smaller pieces so the stacking technique will work for you.
Supplies Used:
These are all Amazon affiliate links.
White long & skinny dough bowl
Shallow Wood Riser Tray (on Amazon or Etsy)
Reclaimed Wood Box or Tray (mine came from a local antique store)
Rusty and Vintage Mason Jar Lids
Artificial Birds Nests (if you cannot find real ones)
You Might Also Enjoy Reading:
Pin for Later:

Hi there glad I found you. You’re very informative. How can I get ahold of your charts of the which chickens lay which colored eggs.
I’d love to have them for reference.
thanks, Cisko
Hi Cisko!
You can find the charts on our breeding page here: https://silverhomestead.com/genetics/